Key Highlights
- Composting transforms organic waste into nutrient-rich soil, reducing landfill waste and methane emissions.
- It enhances soil health, promotes plant growth, and cuts the need for chemical fertilizers.
- Key components of a compost pile are green (nitrogen-rich) and brown (carbon-rich) materials.
- Consider location, size, and maintenance when setting up your compost bin.
- Use compost as a soil amendment, mulch, or compost tea for your garden.
- Composting benefits the environment and provides valuable garden resources.
Table of Contents
Composting is more than just a way to reduce waste—it’s a sustainable practice that turns kitchen scraps and yard waste into valuable compost, often referred to as “black gold.”
Whether you’re a beginner or experienced gardener, composting is a simple yet impactful way to promote soil health, reduce environmental impact, and create healthier gardens.
Understanding the Basics of Composting
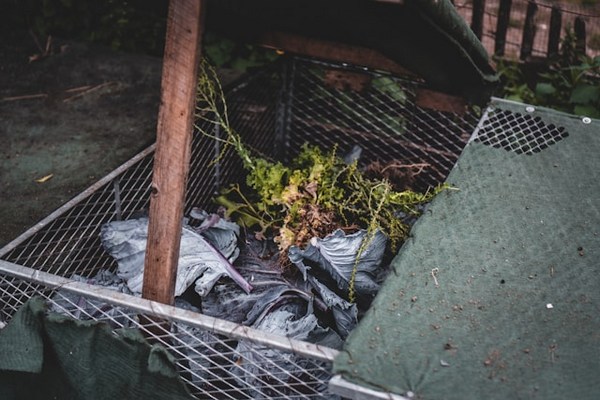
Composting is a natural process that involves the decomposition of organic materials into valuable compost.
The decomposition process requires a balanced mix of green materials such as fresh grass clippings and vegetable scraps, and brown materials like dry leaves and newspaper.
The Environmental Benefits of Composting
This sustainable gardening method promotes healthier gardens by enhancing soil health and promoting plant growth.
Additionally, composting helps in waste reduction, turning kitchen scraps and yard waste into a valuable resource.
Step-by-Step Guide to Starting Your Compost
Step 1: Setting Up Your Compost Bin or Area
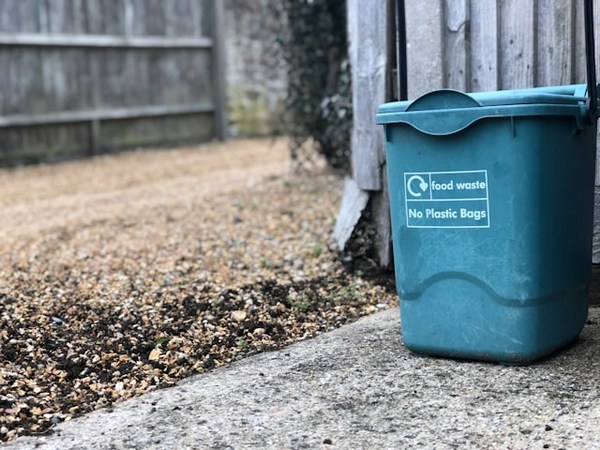
Setting up your compost bin or area is the first step in starting your compost.
- Choose the right location:
- Select a spot that provides good drainage and good air circulation.
- Avoid low-lying areas that may collect water and result in a soggy compost pile.
- Choose a location that is easily accessible, considering the proximity to your kitchen and garden.
- Decide on the size:
- Choose a compost bin or determine the size of your compost pile based on the amount of organic waste you generate and the space available.
- Consider factors like the number of people in your household, the size of your garden, and the amount of waste you want to compost.
- Prepare the area:
- If you’re using a compost bin, assemble it according to the manufacturer’s instructions.
- If you’re creating a compost pile, clear the area of any debris, weeds, or grass.
- You may want to lay down a layer of twigs or straw at the bottom of the pile to aid in aeration and drainage.
- Consider containment:
- If you’re concerned about aesthetics or want to keep out pests, consider using a compost bin with a lid or constructing a bin using materials like wood or wire mesh.
Step 2: Balancing Greens and Browns
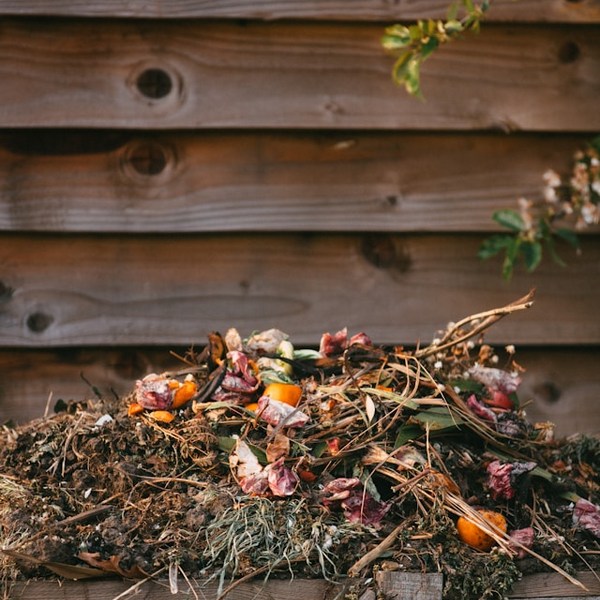
Balancing greens and browns is an essential step in starting your compost.
- Green materials:
- These are nitrogen-rich materials that provide essential nutrients for the microorganisms involved in the composting process.
- Examples of green materials include fruit and vegetable scraps, coffee grounds, fresh grass clippings, and plant trimmings from your garden.
- Brown materials:
- These are carbon-rich materials that help create a balanced environment for composting.
- Examples of brown materials include dry leaves, straw, shredded newspaper, and cardboard.
To achieve the right balance, aim for roughly equal parts greens and browns by volume. This balance provides the necessary nitrogen and carbon for efficient decomposition and helps prevent odors and other issues.
Layer your greens and browns in your compost bin or pile, alternating between the two. Break down larger materials into smaller pieces to speed up decomposition.
Our button mushroom compost preparation is in progress pic.twitter.com/MVZN1o5asw
— Demi Farms (@demi_farm) June 11, 2024
Step 3: Adding Kitchen and Yard Waste
Adding kitchen and yard waste to your compost is an important step that introduces organic matter rich in nutrients to your compost pile.
- Kitchen scraps:
- Collect fruit and vegetable peelings, coffee grounds, tea bags, and other non-meat, non-dairy food scraps.
- These materials are high in nitrogen and provide essential nutrients for your compost.
- Yard waste:
- Collect dry leaves, grass clippings, and plant trimmings from your garden.
- These materials are high in carbon and help create a balanced mix in your compost.
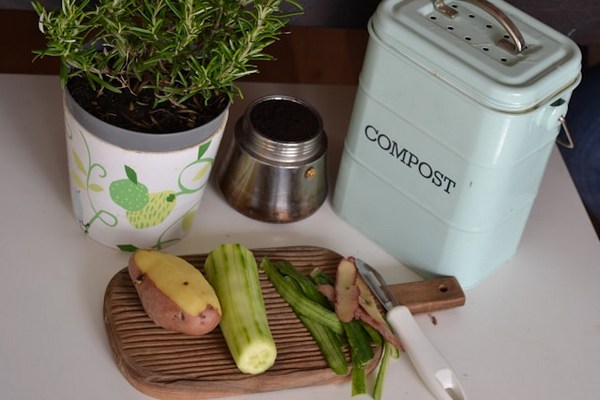
To add kitchen and yard waste to your compost, simply layer them in your compost bin or pile. Aim for a ratio of roughly 2 parts brown to 1 part green by volume.
This balance ensures efficient decomposition and minimizes odors. Water the pile lightly after adding the materials to ensure proper moisture levels.
Step 4: Maintaining Moisture and Aeration
Maintaining the right moisture levels and ensuring proper aeration are crucial for a healthy compost pile.
- Moisture levels: Your compost pile should be damp, but not soggy. If it’s too wet, it can become anaerobic and develop unpleasant odors.
- Good air circulation: Turning your compost regularly introduces oxygen and ensures even decomposition.
Step 5: Monitoring and Troubleshooting
Monitoring your compost pile is an important step in ensuring its success.
- Temperature:
- Monitor the temperature using a compost thermometer. The pile should reach temperatures between 120°F and 160°F (49°C and 71°C) during active decomposition.
- If the temperature is too low, it may indicate a lack of nitrogen. If it’s too high, it may indicate too much nitrogen or insufficient aeration.
- Moisture levels:
- If the pile is too dry, add water. If it’s too wet, add more dry brown materials to absorb excess moisture.
- Odors:
- A healthy compost pile should have an earthy, organic smell.
- If you notice foul odors, turn the pile to introduce oxygen and add more brown materials to absorb excess moisture.
- Decomposition rate:
- Monitor the rate at which your compost is decomposing. It should gradually break down over time.
- If decomposition seems slow, it may indicate an imbalance in the pile or insufficient aeration. Adjust the balance of greens and browns and turn the pile more frequently if necessary.
Composting Methods and Techniques
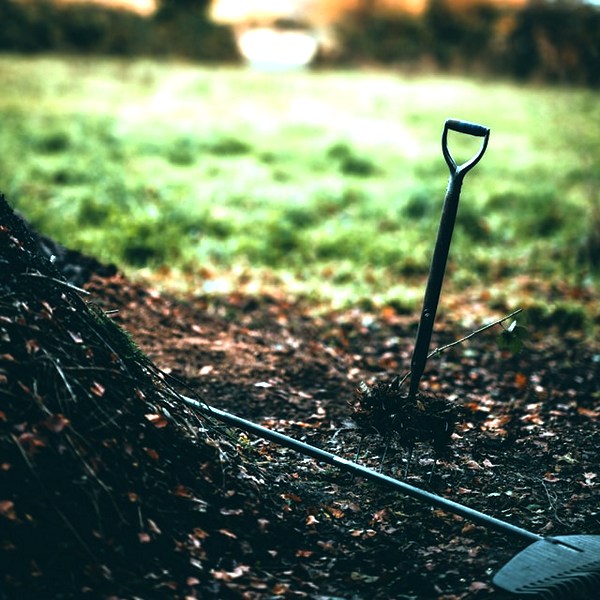
There are various methods and techniques of composting, each with its own advantages and considerations.
- Backyard composting: This is the traditional method of composting, where organic waste is collected in a bin or pile and allowed to decompose naturally.
- Trench composting: This technique involves digging a trench directly in your garden and burying organic waste, allowing it to decompose underground.
- Vermicomposting: Also known as worm composting, vermicomposting uses red wiggler worms to break down organic waste quickly. This method can be done indoors or outdoors and is ideal for small-scale gardeners or those without yard space.
- Bokashi composting: Bokashi composting utilizes an anaerobic process to ferment organic waste in a sealed container. It’s a fast-track method that can handle a wide variety of waste types, including meat and dairy.
Traditional Composting vs. Bokashi Composting
Traditional composting and bokashi composting are two popular methods of composting that offer different benefits and considerations.
Traditional composting:
- Relies on aerobic decomposition, with the compost pile exposed to air.
- Ideal for a wide range of organic waste, including fruit and vegetable scraps, yard waste, and plant trimmings.
- Involves regular turning of the compost pile to promote aeration and decomposition.
- Takes longer to produce finished compost, typically several months to a year.
Bokashi composting:
- Utilizes an anaerobic process, with organic waste fermented in a sealed container.
- Suitable for a wide variety of waste types, including meat, dairy products, and cooked food.
- Does not require turning of the compost pile.
- Produces compost quickly, usually within a few weeks to a couple of months.
Vermicomposting: Using Worms to Enhance Decomposition
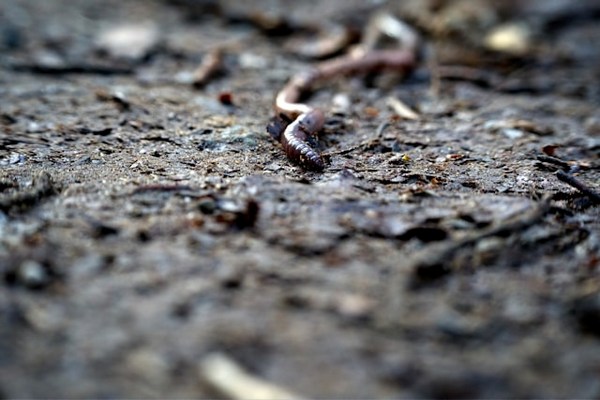
Vermicomposting, also known as worm composting, is a unique method that utilizes red wiggler worms to enhance the decomposition process.
How it works:
Worms break down organic waste by consuming it and leaving behind nutrient-rich castings, also known as vermicompost. This process is facilitated by beneficial microorganisms present in the worms’ digestive system.
- Ideal for small-scale composting:
- Vermicomposting is ideal for those with limited space or those who want to compost kitchen scraps without a yard.
- It can be done indoors or outdoors, making it versatile for any living situation.
- Faster decomposition:
- Vermicomposting is faster than traditional composting methods because the worms efficiently break down the organic waste.
- It produces both solid compost and a liquid “worm tea,” both of which are excellent for plant health.
- Benefits for soil health:
- Vermicompost is rich in nutrients and beneficial microorganisms, making it an excellent soil amendment.
- It improves soil structure, water retention, and nutrient availability, promoting healthier plant growth.
Vermicomposting is a space-efficient and efficient method of composting that can be done indoors or outdoors.
Managing Your Compost Pile
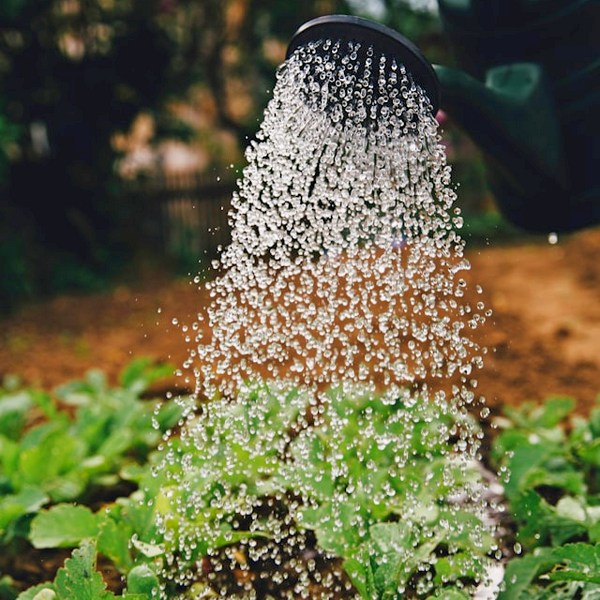
- Regular turning: Turning your compost regularly helps aerate the pile, introduce oxygen, and distribute heat and moisture. Aim to turn your compost every few weeks to promote even decomposition.
- Monitoring moisture levels: Check the moisture levels of your compost pile regularly. It should be damp, but not soggy. Adjust the moisture levels by adding water or dry brown materials as needed.
- Maintaining the right balance: Ensure your compost pile has a balanced mix of greens and browns. Adjust the balance by adding more greens or browns to achieve the right ratio.
Recognizing When Your Compost Is Ready to Use
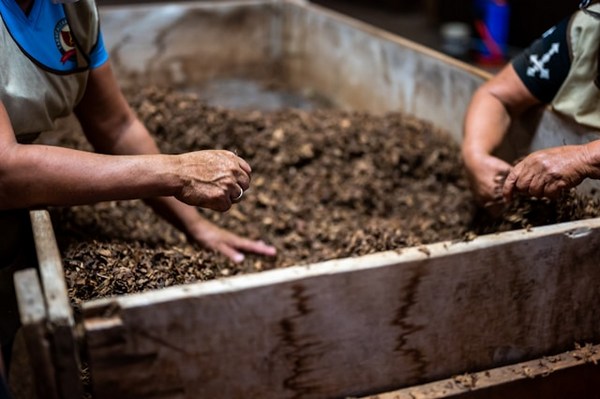
One clear sign that your compost is ready for use is its earthy aroma, indicating a well-decomposed mix.
The compost should look dark and crumbly with no recognizable food scraps, showcasing the completion of the composting process.
Additionally, the volume of the pile will decrease significantly, suggesting successful decomposition and transformation into nutrient-rich compost.
Conclusion
Composting is a rewarding way to reduce waste and enrich your garden. Whether traditional composting or vermicomposting, the benefits to the environment and your plants are plentiful. So, roll up your sleeves, start your compost journey, and watch how nature’s recycling process transforms your waste into a valuable resource for your garden. Happy composting!
Frequently Asked Questions
Can I Compost Cooked Food?
Yes, you can compost cooked food, including leftovers and scraps. Cooked food will decompose in a compost bin, but it may take longer than raw food. Avoid adding large amounts of dairy products or meat scraps, as they can attract pests and cause odors. Cut cooked food into smaller pieces to speed up decomposition.
How Long Does It Take for Compost to Be Ready?
The time it takes for compost to be ready depends on various factors, such as the balance of materials, size of the compost pile, and environmental conditions. In general, compost can take anywhere from a few months to a year or more to fully decompose. Regular turning and maintaining the right balance of greens and browns can help speed up the process.
9 Natural Ways to Repel Snails & Slugs in Your Garden
Key Highlights Coffee grounds, eggshells, and diatomaceous earth are effective natural repellents for snails and slugs in the garden. Beer traps and copper tape can…
Medicinal Plants: Your Healing Home Garden
Key Takeaways Growing medicinal plants at home provides easy access to natural remedies. Many medicinal plants are low-maintenance and thrive in home gardens. Common medicinal…
7 Physical Benefits of Gardening: Green Thumb, Healthy Heart
Key Highlights Gardening activities such as landscaping, planting, and maintaining plants can help reduce blood pressure and improve cardiovascular health. Regular gardening can help build…
Organic Gardening: Essential Tips for a Chemical-Free Garden
Key Highlights Natural Techniques: Use composting, companion planting, and beneficial insects for fertility and pest control. Organic Methods: Grow plants without synthetic fertilizers or pesticides,…
Xeriscaping 101: Easy Steps for Beginners
Key Takeaways: Xeriscaping focuses on water-efficient landscaping, reducing the need for irrigation. Native and drought-tolerant plants are key components of xeriscaping. Proper soil preparation enhances…
Pollinator Friendly Gardens: Attract Butterflies & Bees
Key Takeaways Pollinators like butterflies and bees are essential for healthy gardens and ecosystems. A pollinator-friendly garden includes a variety of native plants that provide…
